
Mazda 6 Service Manual: Discharge headlight service warnings
Discharge headlight bulb service warnings
- To prevent electrical shock when replacing the discharge headlight bulb, dry hands thoroughly, and carry out work in an area out of rain.
- When the light switch is on, approx. 25,000 V of high voltage passes through the discharge headlight bulb socket. Because of the danger of electrical shock, do not insert fingers or a circuit tester.
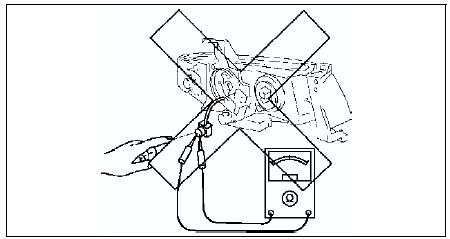
- When the headlights are on, high voltage flows around the socket and bulb. When turning on the discharge headlights while working, always leave the headlights in the vehicle-installed condition to prevent electrical shock.
Discharge headlight control unit service warnings
- Because of the danger of electrical shock, when inspecting with a circuit tester or similar device, do not inspect the discharge headlight control unit as a single unit or disassemble it.
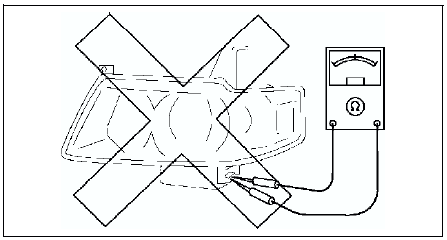
- If there are scratches or damage to the discharge headlight control unit, or it has been impacted, there may be damage despite apparent normal operation. Therefore, to prevent electrical shock or operation error, replace with new parts.

 Front combination light removal/installation
Caution
Incorrect servicing of the discharge headlights could result in
electrical shock. Before servicing the discharge headlights, always refer to
the Discharge headlight service warnings. ...
Other materials:
Mazda 6 Service Manual: Front door unit removal/installation
1. Remove the front door glass.
2. Remove the inner handle.
3. Remove the front door speaker.
4. Disconnect the power window motor connector, front door lock actuator
connector, power outside mirror connector.
5. Remove the door harness from the front door unit.
6. Remove the bolts.
7. Rem ...
Mazda 6 Service Manual: Locking, Unlocking with Door- Lock Knob
Operation from inside
To lock any door from the inside, press the door-lock knob.
To unlock, pull it outward. This does not operate the other door locks.
NOTE
The red indication can be seen when the door-lock knob is unlocked.
Operation from outside
To lock the rear and front passenger doo ...